
To use a Stanley Stud Finder, simply place it against the wall and move it around until it detects a stud. Then mark the stud’s location and proceed with your project.
Stanley Stud Finders are handy devices that help you locate studs in your walls, allowing you to securely hang shelves, artwork, or other heavy objects. Finding studs is important because they provide the necessary support and stability for these objects.
However, without the proper tools, locating studs can be frustrating and time-consuming. That’s where the Stanley Stud Finder comes in. With its easy-to-use design, you can quickly and accurately locate studs in your walls. This guide will walk you through the steps of effectively using a Stanley Stud Finder, ensuring your projects are securely attached to sturdy studs.
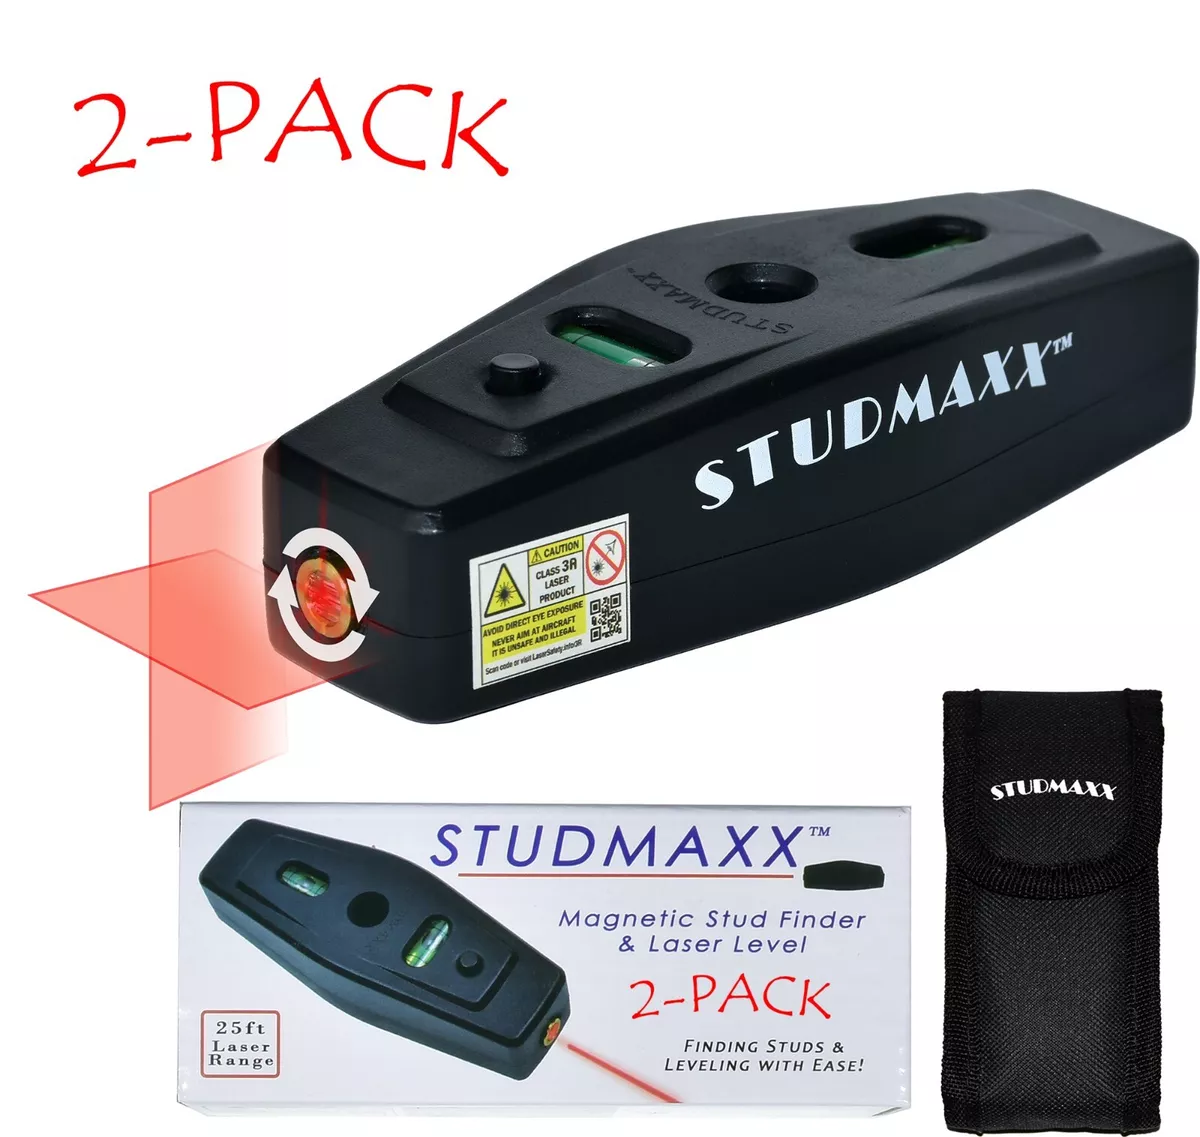
Credit: www.ebay.com
Different Types Of Stanley Stud Finders
When it comes to finding studs in your walls, Stanley offers a range of stud finders that can make your task easier and more accurate. Understanding the different types of Stanley stud finders available can help you choose the right tool for your needs.
Magnetic Stud Finders
A magnetic stud finder is a simple yet effective tool for locating studs in your walls. This type of stud finder uses a small but powerful magnet to detect metal nails or screws that are embedded in the studs. Here’s how a magnetic stud finder works:
- The magnet is placed against the wall.
- If the magnet sticks, it means there is a metal object beneath.
- This indicates the presence of a stud.
Magnetic stud finders are lightweight, affordable, and do not require batteries or calibration. They are best suited for finding nails or screws in wooden studs.
Electronic Stud Finders
An electronic stud finder is a more advanced tool compared to the magnetic one. It uses electronic sensors to detect changes in density behind the wall, providing more accurate results. Here’s how an electronic stud finder works:
- The stud finder is turned on and calibrated according to the manufacturer’s instructions.
- It is then moved horizontally along the wall until it detects a change in density.
- The change in density indicates the presence of a stud.
Electronic stud finders have additional features such as depth detection, which allows you to determine the thickness of the wall or the depth of the stud. They are suitable for finding studs made of metal or wood.
If you frequently need to locate studs, invest in a Stanley stud finder that suits your needs. Whether you prefer the simplicity of a magnetic stud finder or the added functionality of an electronic one, Stanley has you covered.
Preparing Your Stanley Stud Finder
A Stanley Stud Finder is a handy tool that helps you locate the studs behind your walls, so you can securely hang heavy objects or mount shelves. To ensure accurate readings and optimal performance, it is important to properly prepare your Stanley Stud Finder. This involves two key steps: battery installation and calibration. In this post, we will guide you through the process, ensuring you are ready to use your stud finder effectively.
Battery Installation
Before you start using your Stanley Stud Finder, it is crucial to install the battery. Without a functional battery, your stud finder won’t be able to detect the studs hidden in your walls. Follow these simple steps to install the battery:
- Locate the battery compartment on the back of your stud finder.
- If the compartment is sealed with a screw, use a screwdriver to loosen it and open the compartment.
- Insert the appropriate battery type as specified in your stud finder’s user manual.
- Ensure the battery is inserted in the correct orientation, following the (+) and (-) indicators.
- Tighten the screw to securely close the battery compartment.
Now that you have successfully installed the battery, your Stanley Stud Finder is powered up and ready for calibration.
Calibration
Calibrating your stud finder is essential to ensure accurate readings. Calibration allows your tool to adapt to the specific environment it is being used in. Here’s how you can calibrate your Stanley Stud Finder:
- Hold the stud finder against a wall with no studs or other metal objects nearby.
- Ensure the device is level and firmly pressed against the wall.
- Press and hold the calibration button until the stud finder emits a beep or flashes a light.
- Release the calibration button and wait for the stud finder to complete the calibration process.
Once calibrated, your Stanley Stud Finder is now ready to accurately detect and locate studs in your walls. Take a moment to familiarize yourself with the tool’s features and buttons, as this will help you make the most out of your stud finding experience.
Using Your Stanley Stud Finder
Using a Stanley stud finder is a straightforward and efficient way to locate studs and avoid potential hazards like electrical wires and pipes. In this section, we will guide you on how to effectively use your Stanley stud finder, ensuring accurate stud detection and safe drilling for your DIY projects.
Locating Studs
Locating studs is the primary function of a Stanley stud finder. To begin, ensure your stud finder is properly calibrated by holding it against a flat wall surface and pressing the calibration button. Once calibrated, follow these steps:
- Press the power button to turn on the stud finder.
- Place the stud finder flat against the wall, ensuring it is level.
- Slowly slide the stud finder horizontally across the wall.
- Pay attention to the indicator lights or beeps that signal the presence of a stud.
- Once the stud is located, mark the spot with a pencil for future reference.
By following these steps, you can easily locate studs in your walls, allowing for secure mounting of shelves, cabinets, or other fixtures.
Identifying Electrical Wires And Pipes
Identifying electrical wires and pipes is essential to avoid any accidental damage during your DIY projects. Here’s how you can use your Stanley stud finder to identify these potential obstructions:
- Ensure your stud finder is still calibrated from the previous step.
- Switch the stud finder to the appropriate mode for wire and pipe detection.
- Slowly move the stud finder along the wall, paying attention to any indicator lights or beeps.
- If the stud finder detects electrical wires or pipes, mark the area and proceed with caution.
This feature of your Stanley stud finder will prevent accidental drilling into electrical wires or damaging pipes, ensuring a safe and hassle-free DIY experience.
Marking The Studs
Marking the studs you have detected will make future reference and drilling easier. Here’s how you can mark the studs:
- Once the stud is detected and confirmed, use a pencil to make a small dot or mark on the wall.
- Consider marking both edges of the stud to ensure accurate alignment for mounting.
By marking the studs, you can easily locate them later, saving time and effort for future installations or renovations.
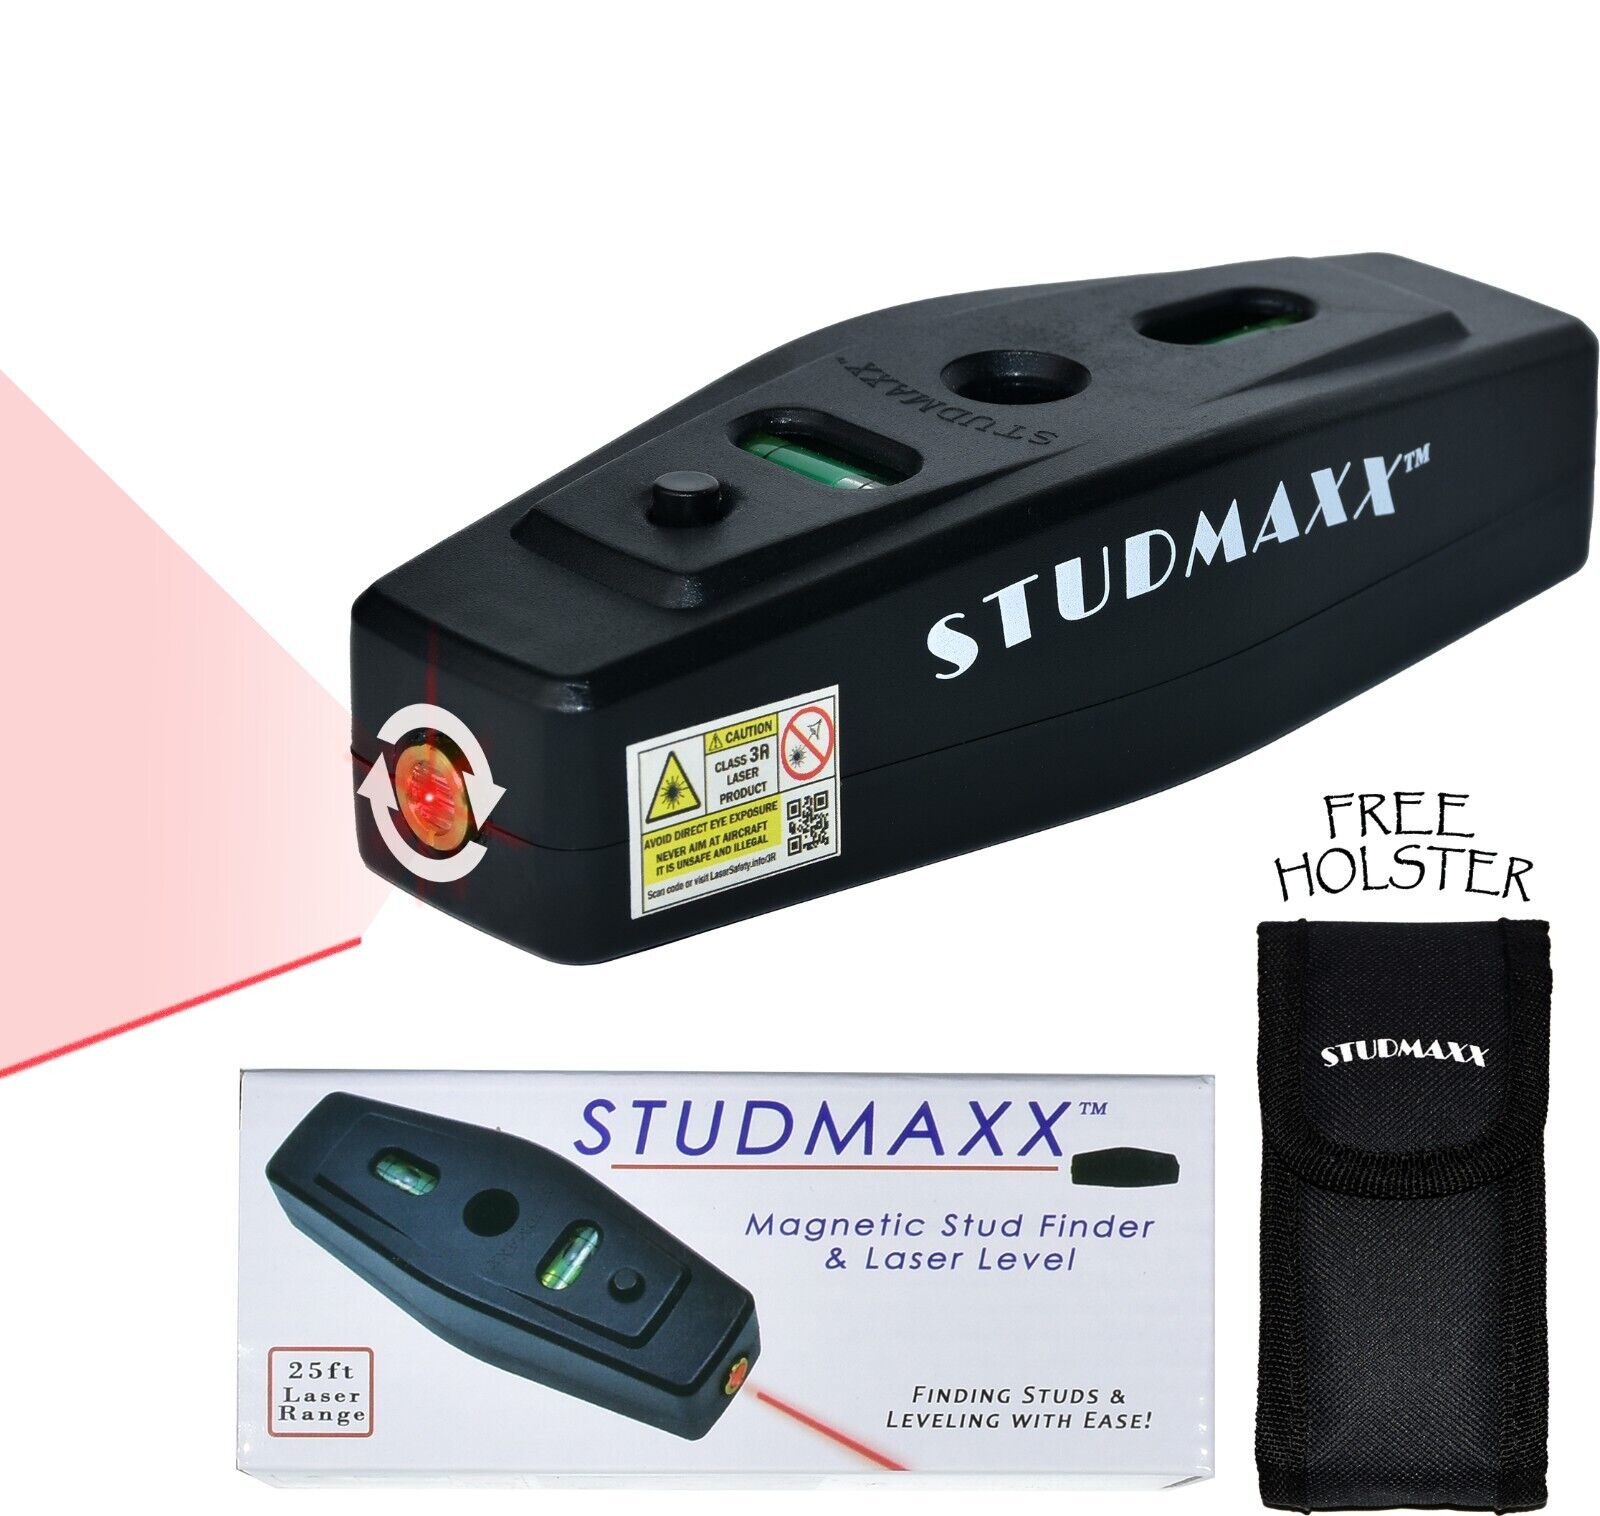
Credit: www.ebay.com
Tips And Tricks For Efficient Wall Scanning
SEO-Friendly HTML Content Response:Efficient wall scanning is essential when using a Stanley Stud Finder. By following these tips and tricks, you can ensure accurate results and make the most of your stud finder. Let’s dive into the details.
Moving Slowly And Methodically
When using a Stanley Stud Finder, it is crucial to move slowly and methodically along the wall. This allows the stud finder to properly detect any studs or obstacles within the wall.
Moving too quickly can result in missed studs or false readings. Begin by placing the stud finder flush against the wall, then slowly slide it horizontally in a straight line. Keep a steady pace, allowing the device to fully scan the wall before moving on to the next section.
Understanding Different Beep Tones
Stanley Stud Finders often come equipped with different beep tones, each indicating different findings. Understanding these beep tones is essential in efficiently locating studs.
| Beep Tone | Meaning |
|---|---|
| Continuous Beeping Sound | Indicates the presence of a stud. |
| Intermittent Beeping Sound | Indicates possible obstructions or pipes that may be present in the wall. |
| No Beeping Sound | Indicates no stud or obstruction detected in the scanned area. |
By paying close attention to these beep tones, you can efficiently scan the wall and easily differentiate between studs and other objects.
Using The Stud Finder As A Level
Did you know that your Stanley Stud Finder can also be used as a level? This handy tool can serve a dual purpose, ensuring your project is on the right track.
Before scanning the wall for studs, place the stud finder against a level surface, such as a countertop or table. Adjust the device until the bubble signifies a level position. Now, you can use the stud finder to check if any surfaces are horizontal or vertical throughout your project.
By utilizing your stud finder as a level, you can save time and effort by quickly identifying any discrepancies and ensuring accurate measurements.
By following these tips and tricks, you can maximize the efficiency of your Stanley Stud Finder. Moving slowly and methodically, understanding different beep tones, and utilizing the device as a level will greatly enhance your wall scanning experience.
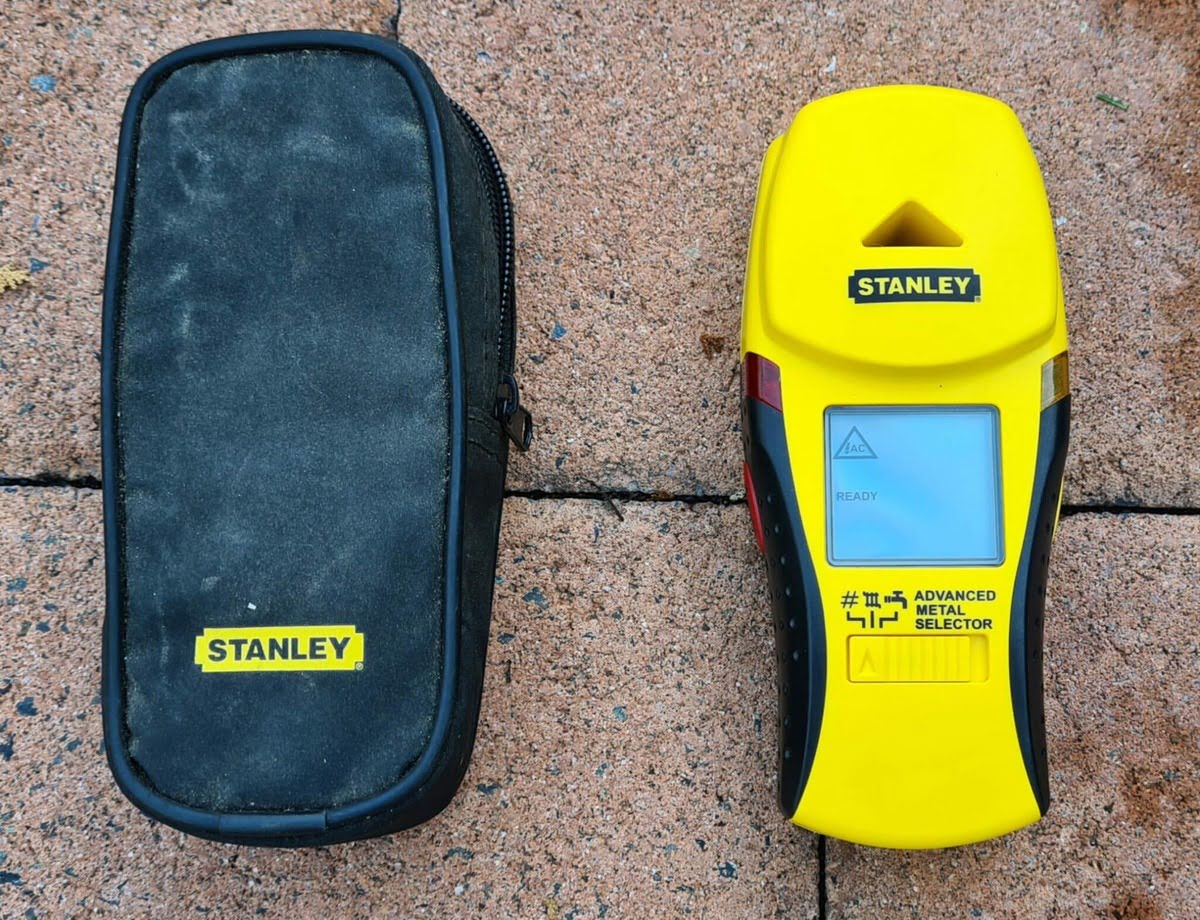
Credit: storables.com
Frequently Asked Questions On How To Use A Stanley Stud Finder
Why Isn’t My Stanley Stud Finder Working?
Your Stanley stud finder may not be working due to several reasons. Check if the batteries are inserted properly, ensure the device is calibrated correctly, and verify that you are using it correctly. Also, make sure there are no obstructions like wallpaper or metal interfering with the readings.
Why Does My Stanley Stud Finder Keep Beeping?
Your Stanley stud finder beeps to indicate the presence of a stud behind the wall. It beeps when it detects changes in density, such as nails or screws in the stud.
How Do You Use A Stud Finder?
Using a stud finder is simple: turn it on, hold it against the wall, and move it horizontally until it beeps or lights up indicating a stud. Mark the spot and repeat to find other studs. Be sure to follow the manufacturer’s instructions for your specific stud finder model.
How To Use A Stanley S150?
To use a Stanley s150, start by placing the device on a stable surface. Insert the material you need to staple into the tool’s throat. Push down on the tool until the staple is released and secured. Remember to follow the safety precautions provided in the user manual.
Conclusion
Using a Stanley Stud Finder can greatly simplify your DIY projects and ensure accurate and efficient stud detection. With its advanced features and user-friendly interface, this tool proves to be a valuable asset for both professionals and home improvement enthusiasts.
By following the step-by-step instructions and utilizing the helpful tips provided, you can easily locate studs and enhance the stability of your walls. So, why wait? Grab your Stanley Stud Finder now and discover the ease and precision it brings to your home improvement endeavors.